[Coronavirus update: You can check to see if certain National Parks are open on the NPS Public Health page here.]
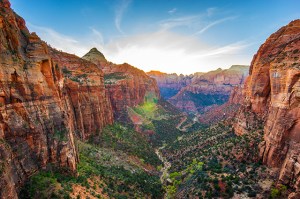
National parks have often been touted as America’s best idea. With jaw-dropping landscapes and incredibly diverse flora and fauna, it’s easy to see how they have earned this title.
Photographing these scenic locations is an experience like no other; photographers come from all over the world for a chance to capture the beauty with the parks.
If you are planning a trip soon, read these tips on how to make the most of your national park photos.
Did you know that AAA helped to create the Park-to-Park Highway in 1920? The route connected the first 12 national parks in the American west, making the parks easily accessible by car.
Do Your Homework
Before you even step foot in a park you should do some research on locations to photograph. It is good to have a list of spots you want to photograph beforehand because many of the parks do not have cell service. I have a few different ways I research photography locations.
My favorite way to look for photo spots is to do a location search for the park I am visiting on Instagram. I like to look at spots that other people have photographed and see which ones are popular among photographers.
Books
Look for photography books, like this one or this one, with the parks you plan to visit.
Search Google for park photo ops. Many people blog about their visits and there are even sites that map out spots. I will often search for “photography locations at ____ park” or “best sunset spots at ____ park.”
Get Up Early, Go to Bed Late
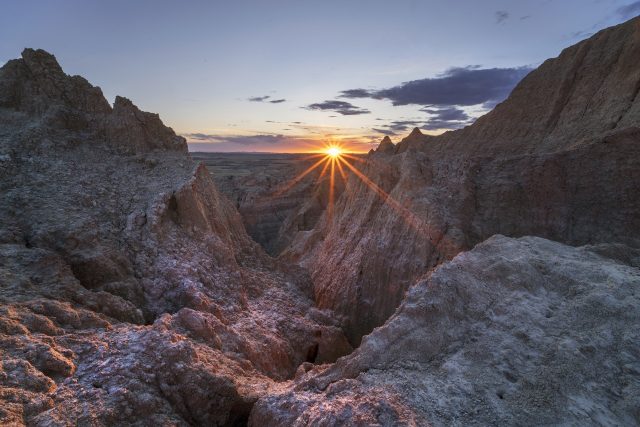
The early bird gets the picture! It’s no secret that the best time to take photos – especially national park photos – is around sunrise and sunset. The hour when the sun is just coming up or going down is referred to as “golden hour.” The hour right before the sun goes up or down is referred to as “blue house.” These are the best times to be out snapping pictures, not only because the light is beautiful but wildlife is most active. There are far fewer people out early in the morning and early evening which makes it easier to find parking.
Golden Hour
During golden hour the light is softer which makes shadows not as harsh. It also can create golden light and colorful sky displays.
Pro Tip: Take more than one exposure. Take one shot where you expose for the sky, and another shot where you expose for the landscape. You can then later merge the two exposures together in Photoshop.
Blue Hour
In the hour before the sun comes up there is still enough light to take pictures. It is soft, even light, which means no harsh shadows.
Pro Tip: Make sure your ISO is up high enough so that your shutter speed isn’t too slow. A tripod is also highly recommended.
Be Prepared
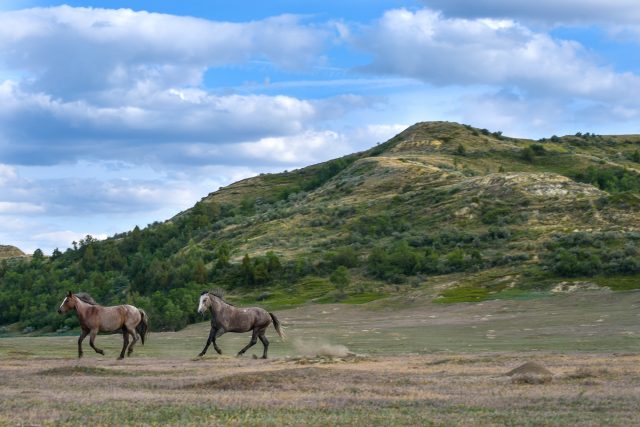
Our national parks are brimming with wildlife, so you should be prepared at all times to deal with any encounter. I once encountered a grizzly bear on a hike, and I can tell you firsthand that it is terrifying. Bison and even wild horses have been known to charge people. Keep a safe distance at all times. Be on high alert if you are out during blue or golden hour, as this is when animals are most active. Carry bear spray, an emergency kit and plenty of water.
Take a Hike
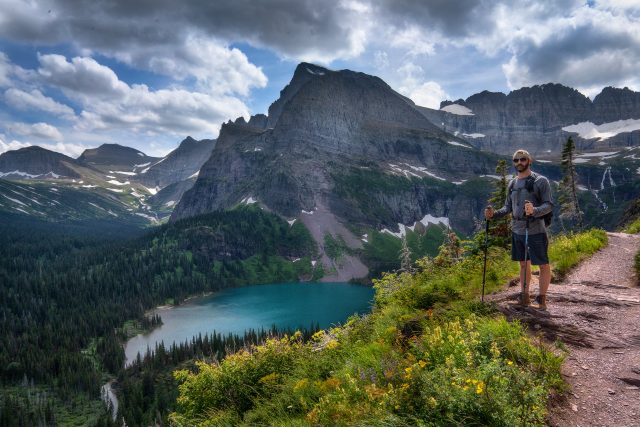
While there are a lot of beautiful views right along the roads in the parks, some of the most epic views require a hike. I recommend researching the distance and elevation gains before setting out on your hike.
Pro Tip: Pack lightly when hiking. While it can be tempting to take your whole lens lineup with you, the extra weight can really slow you down. I recommend bringing your camera and just one lens. I like to bring my 24mm as it is one of my lightest lenses and it is great for landscapes.
Watch the Weather
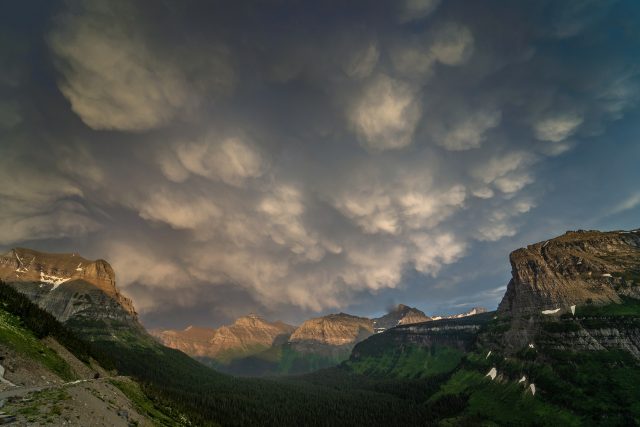
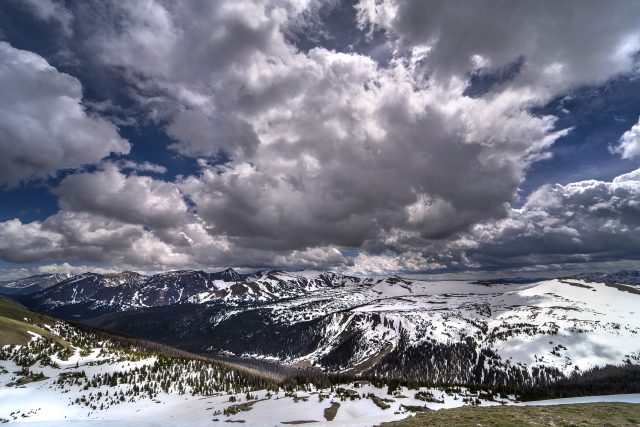
Look at the forecast every morning. Storms can make for some really amazing pictures. Most people head indoors when it starts to rain so you’ll almost have the park to yourself.
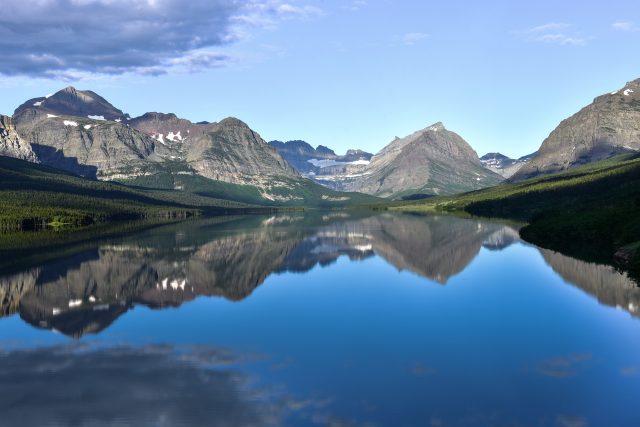
Pro Tip: Check the wind speed when you are looking at the forecast. Little to no wind is best for snapping water reflections.
Visit Off-Season
If you don’t want to deal with the hassle of large crowds, plan a visit during the off-season. Summer and fall are the busiest seasons at the parks. Plan a trip in the spring when there are fewer people. The month of September is also a great month to plan a visit because the kids are back in school. Winter sees the least amount of visitors. Even if you don’t like snow there are still parks in Utah, Arizona, Florida, etc. that have warmer winter weather. If you plan to visit a park that sees snow, check the website for the park to see what is open. They close roads in many of the parks in winter.
Take a Photography Workshop
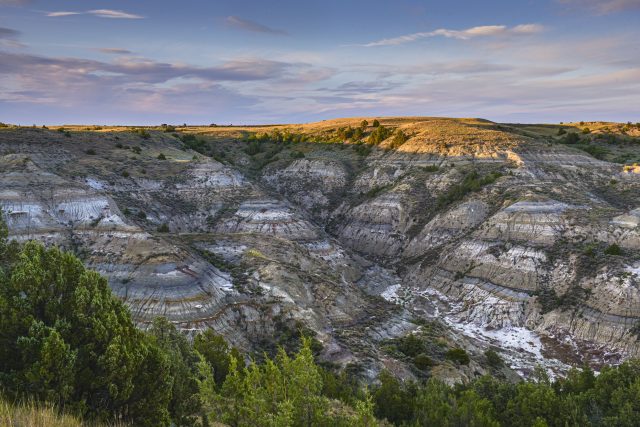
If you do a quick Google search for “national park photography workshops” you’ll see no shortage of results. Workshops are a great way to see the park and learn techniques. Most workshops also have downtime, so you’ll still get to explore on your own. You can join me in Badlands National Park this spring for a female photography workshop.
Be Careful
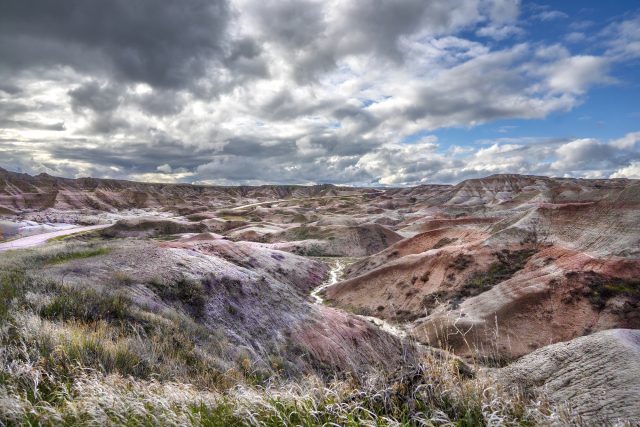
Last but not least, please be careful when you are out there photographing our parks. Keep away from cliffs and edges and stay on designated trails. No shot is worth dying for!
While you are out visiting the parks, don’t miss out on these cant-miss attractions.
Tell us about your national park photos and adventures in the comments below!
Beth Mancuso is a professional photographer. All photos are hers.
2 Thoughts on “Ultimate Guide to Taking Amazing National Park Photos”
Leave A Comment
Comments are subject to moderation and may or may not be published at the editor’s discretion. Only comments that are relevant to the article and add value to the Your AAA community will be considered. Comments may be edited for clarity and length.






Looking for a map of Rock Creek Park in MD And DC
Hi Brendan. Maps are on their way! – MM