You’re closing in on your parked car and there it is again: that eyesore of a paint scratch above the driver’s side door handle. If only you knew how to get rid of it, or at least where to start.
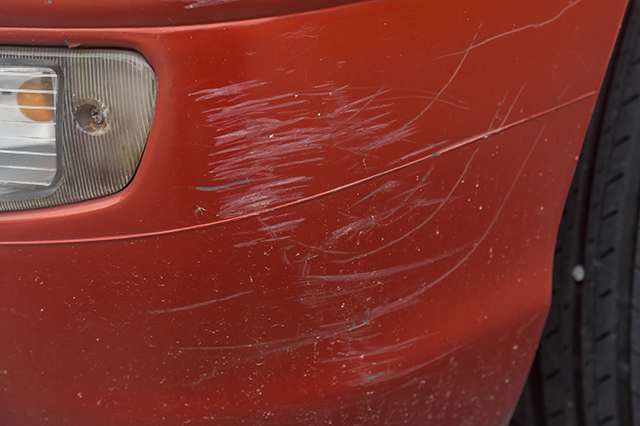
We spoke to Mike Stoops, product and training specialist at Meguiar’s car care products, to find out how to remove scratches. Rule number one, Stoops said: If you can feel the scratch with your fingernail, it may be too deep for an easy fix. If you can see but not feel the scratch, and want to give fixing it a go, keep reading for his tips on how to remove scratches from car paint.
Q: What kind of equipment do I need?
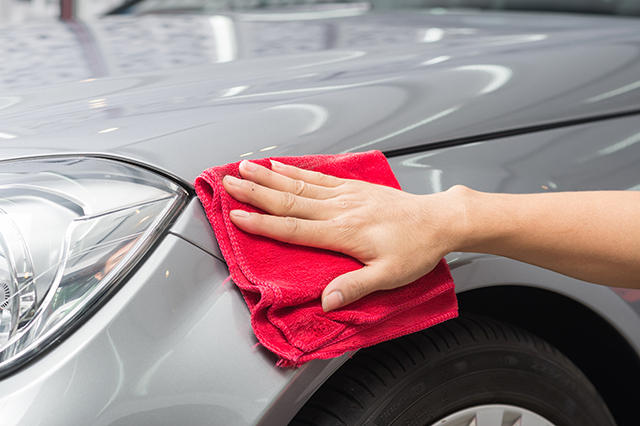
A: Ideally, you want to get a mild scratch removal product; you don’t need a real aggressive product for this kind of repair. What you do want is to be careful of the applicator you use. People tend to grab an old cotton shop rag or an old cotton wash cloth. That material can haze the paint. Really, the smarter move is to go with a nice clean microfiber towel or, better yet, a soft foam wax applicator pad.
Q: What’s the first thing to know about how to remove scratches from car paint?
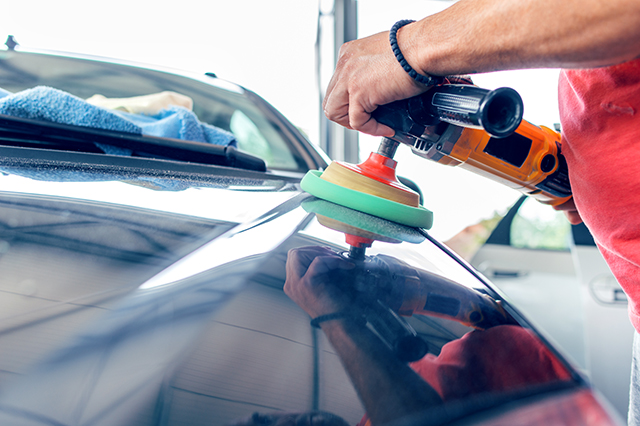
A: Paint is hard, paint is thin, and therefore you need to proceed with caution. Even when working by hand (instead of using a buffer), I’ve seen people get overly aggressive and run into problems.

Q: Can you explain the layers of paint on a vehicle?
A: Regardless of if it’s a steel body car or an aluminum body car – or even composite like the Chevy Corvette – all vehicles are covered in a primer coat, a color coat and then a clear coat, which adds the gloss and UV protection to the color below it. And your hope is that whatever scratch you have is only in the clear coat. If you can see it, but you can’t feel it, that’s actually a good sign. If you can’t feel it, you can probably get rid of it.
Q: Once you have your scratch remover and your pad, how do you get started?
A: First, you want to remove any loose dirt or dust from the surface to avoid grinding it into the paint. Spray the area down (with water) and then wipe it dry with a clean microfiber towel. That’s usually more than sufficient to prep the area, if we’re dealing with an isolated scratch.
Q: How much scratch remover should I use?
A: Squeeze a dollop the size of a 50-cent piece – I don’t know how many people remember how big a 50-cent piece is, so let’s call it a “fat quarter” – onto the middle of your applicator pad.

Q: How much of the surrounding area should you hit with the product?
A: If the scratch is, say, about a quarter- or half-inch long, don’t work just that tiny little area. Work an area around it, maybe 6 to 12 square inches.
Q: What kind of motion should you use to apply the scratch remover?
A: It doesn’t really matter if you work it in a circular motion or a straight line motion. Do whichever is most comfortable for you. Work that with some energy. We’re not applying a wax, so you do not want to just lightly apply the product and walk away to let it dry, that’s not going to do anything. That’s a very common mistake. These products have superfine abrasives in them that are used to mechanically work the paint down and remove the scratch, and they don’t do that on their own, they need your help.
Q: How long should you work the product into the scratch?
A: Work the product for 20 seconds or so. Then it will become a very thin translucent film on the surface. Wipe off the residue. Don’t let it dry. These products serve no purpose if you let them dry. Plus, they can be a little difficult to remove if they dry on the paint.
Q: It didn’t go away immediately. Did I do it right?
A: You want to start out lightly. If the first application doesn’t remove the scratch entirely but makes a visual improvement, that’s actually a really good thing. I’d almost rather see that you didn’t fix everything on the first attempt than watch you remove more paint than you actually needed to. Taking two or three applications to slowly get in there is really the perfect way to do it.

Q: Why is aggressively applying a scratch removal product a problem?
A: Take one of your thumbs and rub it vigorously into the palm of your other hand. It will get hot very quickly. Modern paint does not like heat and modern paint does not like concentrated friction. You can literally rub through your entire clear coat in a matter of minutes regardless of what liquid you’re using, especially if you use an aggressive applicator.
And that’s how to remove scratches from car paint.
Have any other tips? Leave them for us in the comments.
12 Thoughts on “How to Remove Scratches From Car Paint”
Leave A Comment
Comments are subject to moderation and may or may not be published at the editor’s discretion. Only comments that are relevant to the article and add value to the Your AAA community will be considered. Comments may be edited for clarity and length.


I agree with the above. Good advice, but what “Scratch Remover” do I use?
Hi Margaret, we like Meguiar’s Scratch-X. Thanks for reading!
can you give me a product name that removes scratches?
What’s the best product that’s not expensive to remove scratches
Maguires makes both fine and very fine polishing compounds. The best I’ve used in 60 years of dealing with finish issues. Use far more action when buffing the scratch out rather than pressure!
Spread the pressure out evenly over at least a foot with microfiber towel
Also ALWAYS use microfiber to buff it out!…Believe me!
It would be nice to see a before and after picture done by a non-professional. This is very generic information found easily on other websites or u tube videos.
what product do I buy? Where can I get it?
Great advice but not helpful without product name!
Good info. Thanks
Thank you, good to know
Information was help but can you recommend the best scratch removers that can be purchased
maguires spray on carnauba wax is especially good on scratches on black finishes. Took me years to find a wax that hid scratches and was easy to apply