They say that the best camera is the one you have with you. More often than not, that means the phone in your pocket. Today’s phones are equipped with highly sophisticated cameras that are capable of taking beautiful images. Take your travel images to the next level with these smartphone photography tips.
*All images shot with an iPhone X.
Know Your Modes
On an iPhone, you have six modes: slow-mo, video, time lapse, square, photo, portrait and panorama. The three most widely used modes for taking pictures are photo, portrait and panorama.
Photo Mode

In photo mode you have the option of shooting your image in portrait (vertical) or landscape (horizontal) orientation, depending on how you hold your phone. When you take a picture, all of your image will be in focus. You can zoom in or out, by using your two fingers or by holding down the 1x button and sliding it to the right to pick your magnification.
Tip: In photo mode, when you zoom really far in, the resolution of your image will become pixelated. Only use the zoom when your feet can’t get you any closer to what you are trying to photograph. Never put yourself – or your environment – in danger for a shot.
When to use it: Almost always when you are taking pictures. This mode has the most versatility for image captures.
Portrait Mode

In portrait mode, your camera is zoomed in more and the background of your images will be blurry. Only what you set your focus on will be in focus.
Tip: Only use this mode in well-lit situations. When faced with low light this mode struggles to find focus.
When to use it: Portrait mode is wonderful for capturing close-ups of food, flowers and people.
Panorama Mode
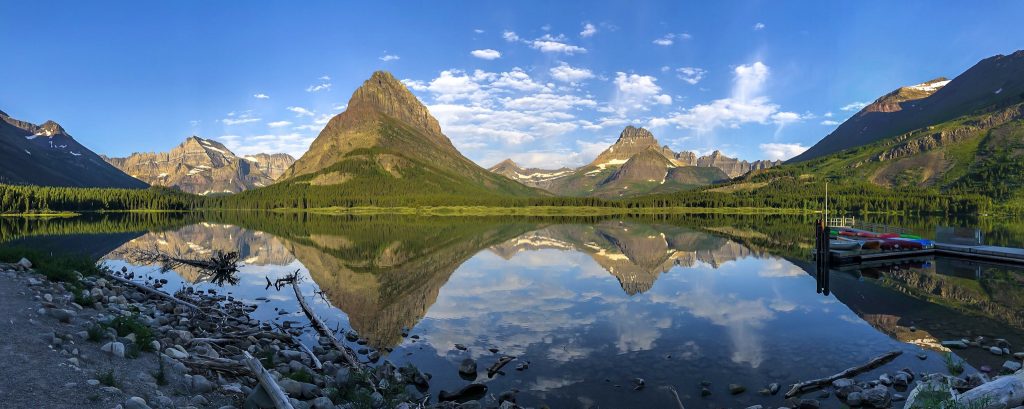
In panorama mode, you hold your camera vertically and move it from left to right. Your goal here is to keep the arrow that shows up on your screen on the line as the camera snaps consecutively.
Tip: You can stop the image before it reaches the end of the line.
When to use it: When your regular photo mode can’t capture the entire scene in front of you.
Setting Focus and Exposure

One of the easiest and smartest tips for photography with mobile phones is to adjust the focus and exposure before snapping a picture. To focus, simply tap your finger on the screen where you want the focal point to be. To set the exposure, slide your finger up or down to make the image brighter or darker. Once you have your focus and exposure set, lock in both. To do this, hold down the focal point until it flashes.
Tip: To make sure you don’t blow out or over-expose the sky in your image, set your focus on the sky until it is properly exposed. Sometimes this means other parts of your image will be dark, but you can almost always bring the shadows up in your image later through editing.
Camera Settings for Smartphone Photography
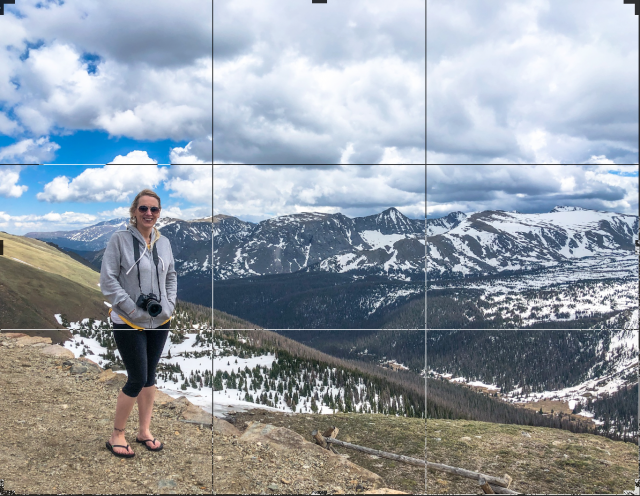
Turn on the Grid
To achieve optimal results with smartphone photography, try turning on the grid to help compose shots; the lines will help you to level your horizon. Your horizon line should always be straight in your images.
The grid also helps you compose your images using the rule of thirds. The rule of thirds is a composition technique that states you should have the subject or focus of your image fall near or on the points of intersection.
You will find the option to turn on the grid in you camera setting. While you are there, you can also turn on “auto HDR” and select “most compatible” from the format options. This will save your images at a higher quality (note: they will take up more storage space).
Must-Have Travel Shot List
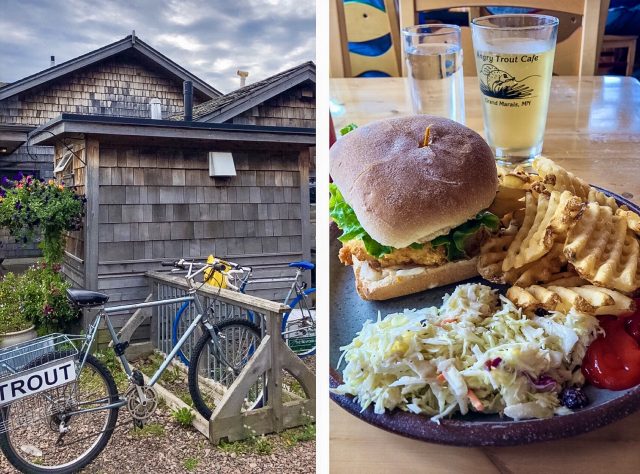
Food – Grab a meal at a local hot spot and take pictures of the food and the restaurant while there.
People – Photograph the locals when traveling to a different country. Make sure to always ask permission before taking an image.
Architecture – Head to the city and snap images of the architecture. Look for churches, government buildings, colleges and museums.

Landscape – National parks and state parks are wonderful places to photograph the landscape. See our tips for photographing national parks.
Art/Culture – Look for festivals, fairs and art museums while on your trip.

Adventure – Make sure to document any hikes, water sports, skiing, etc., that you take part in.
Wildlife – While you will most likely encounter wildlife while visiting the parks, also look for animal sanctuaries, refuges and zoos in the area.
Creative Techniques
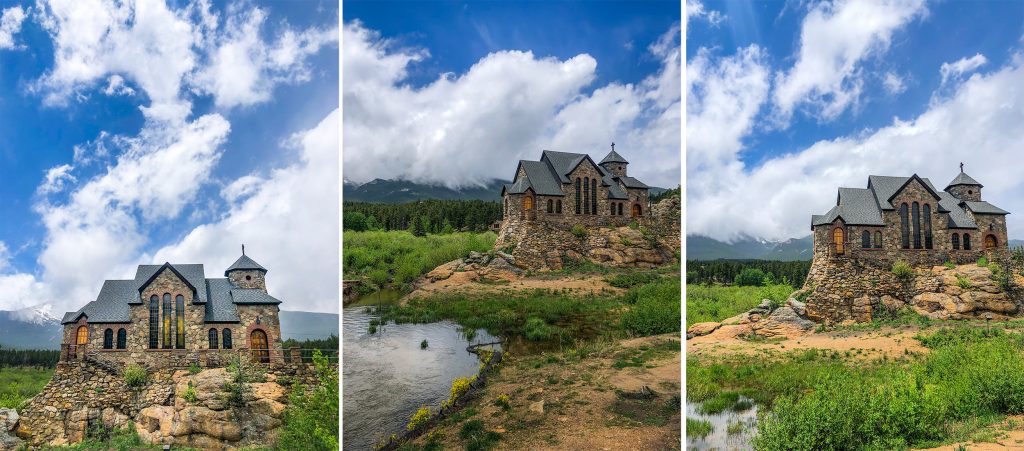
Vary your angles – When faced with a photo opportunity don’t just take the image head-on. Walk around your subject and snap images from various viewpoints. Remember to look up and down as well.
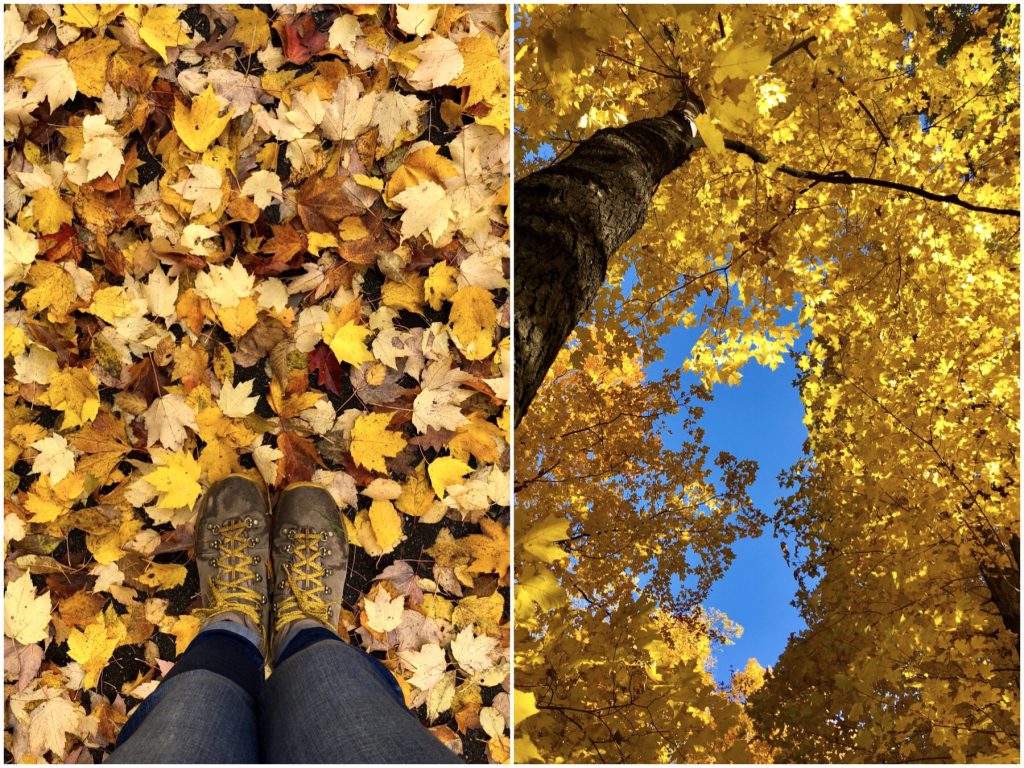
Vary your height – Instead of taking all of your images standing, try crouching and even laying down to take an image. Alternately, get high by climbing steps or using a step stool.
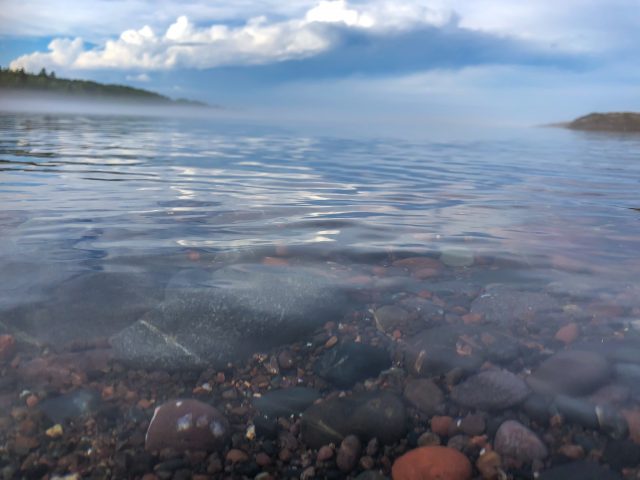
Take it underwater – For an added element of fun, try taking your phone underwater. While some of the newer phones claim to be waterproof, it’s usually only to certain depths. For safer smartphone photography, I recommend getting a waterproof bag.
Shoot through things – Try shooting through leaves, flowers, even people to add depth to your images.
Photography is a wonderful hobby and creative outlet. Remember to enjoy your travels, too! It is easy to get caught up in getting the perfect images, but sometimes it’s best to just put down your phone and be present in the moment.
Beth Mancuso is a professional photographer. All photos are hers.
One Thought on “Smartphone Photography Tips for Travel”
Leave A Comment
Comments are subject to moderation and may or may not be published at the editor’s discretion. Only comments that are relevant to the article and add value to the Your AAA community will be considered. Comments may be edited for clarity and length.

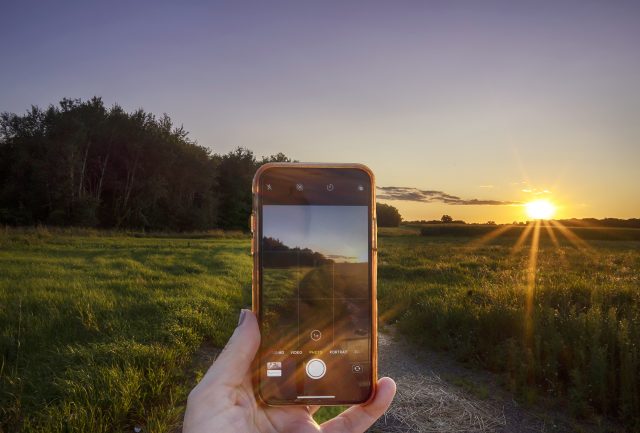


When planning a day of photos, don’t wear you Sunday best. This applies particularly if you will be in a park, wooded area, zoo, in the wilderness. You don’t want to rip or soil good clothes. And if you need to lie on the ground or pavement, you can do so without worry.