Spring has sprung, and that means it’s time to get crafty. Crafting is the perfect way to ignore spring cleaning, and to bring the bright colors of the season to your home and garden. But what good is a craft if it’s too hard to finish? I’ve seen far too many Pinterest crafts go sideways just because they were too complicated. I needed crafts that anybody could do. I scoured the internet for the best ideas for spring crafts and found three that seemed (relatively) accessible.
Here are my favorite spring crafts, and how you can do them yourself with things you have at home.
Garden Hose Wreath
Inspired by a few similar items I’d seen in home crafting circles, I decided to tackle the garden hose wreath. Putting a garden hose on your front door doesn’t really sound like a cute idea at first. In fact, everyone I told about this craft looked at me with something between doubt and pity in their eyes. No matter how crazy it might sound, the garden hose wreath is cute, charming and simple.
The garden hose wreath is a great way to add some shabby-chic fun to your front door. All you have to do is coil a garden hose into a circle and zip tie it closed. After that, you can decorate it however you choose!

Weekend Road Trips in the Northeast
Looking for a weekend getaway? The Northeast is full of fascinating museums, natural beauty, quirky destinations and more. Just hop in the car and head out on one of these road trips.
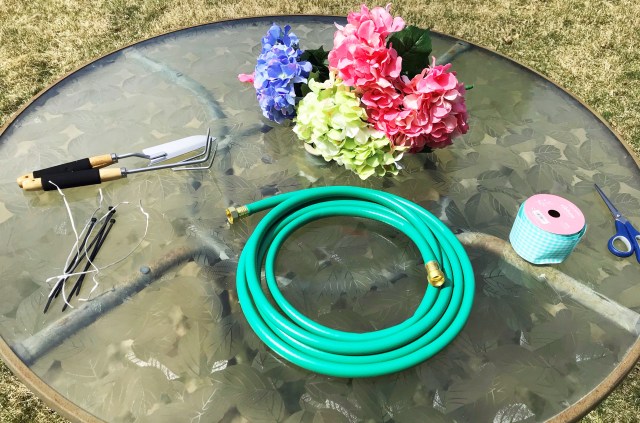
Go now!These are the items that I used to make my wreath. I have a cheap pair of gardening tools, a 15-foot garden hose, a bouquet of fake hydrangeas, zip and twist ties, a gingham ribbon and a pair of scissors.
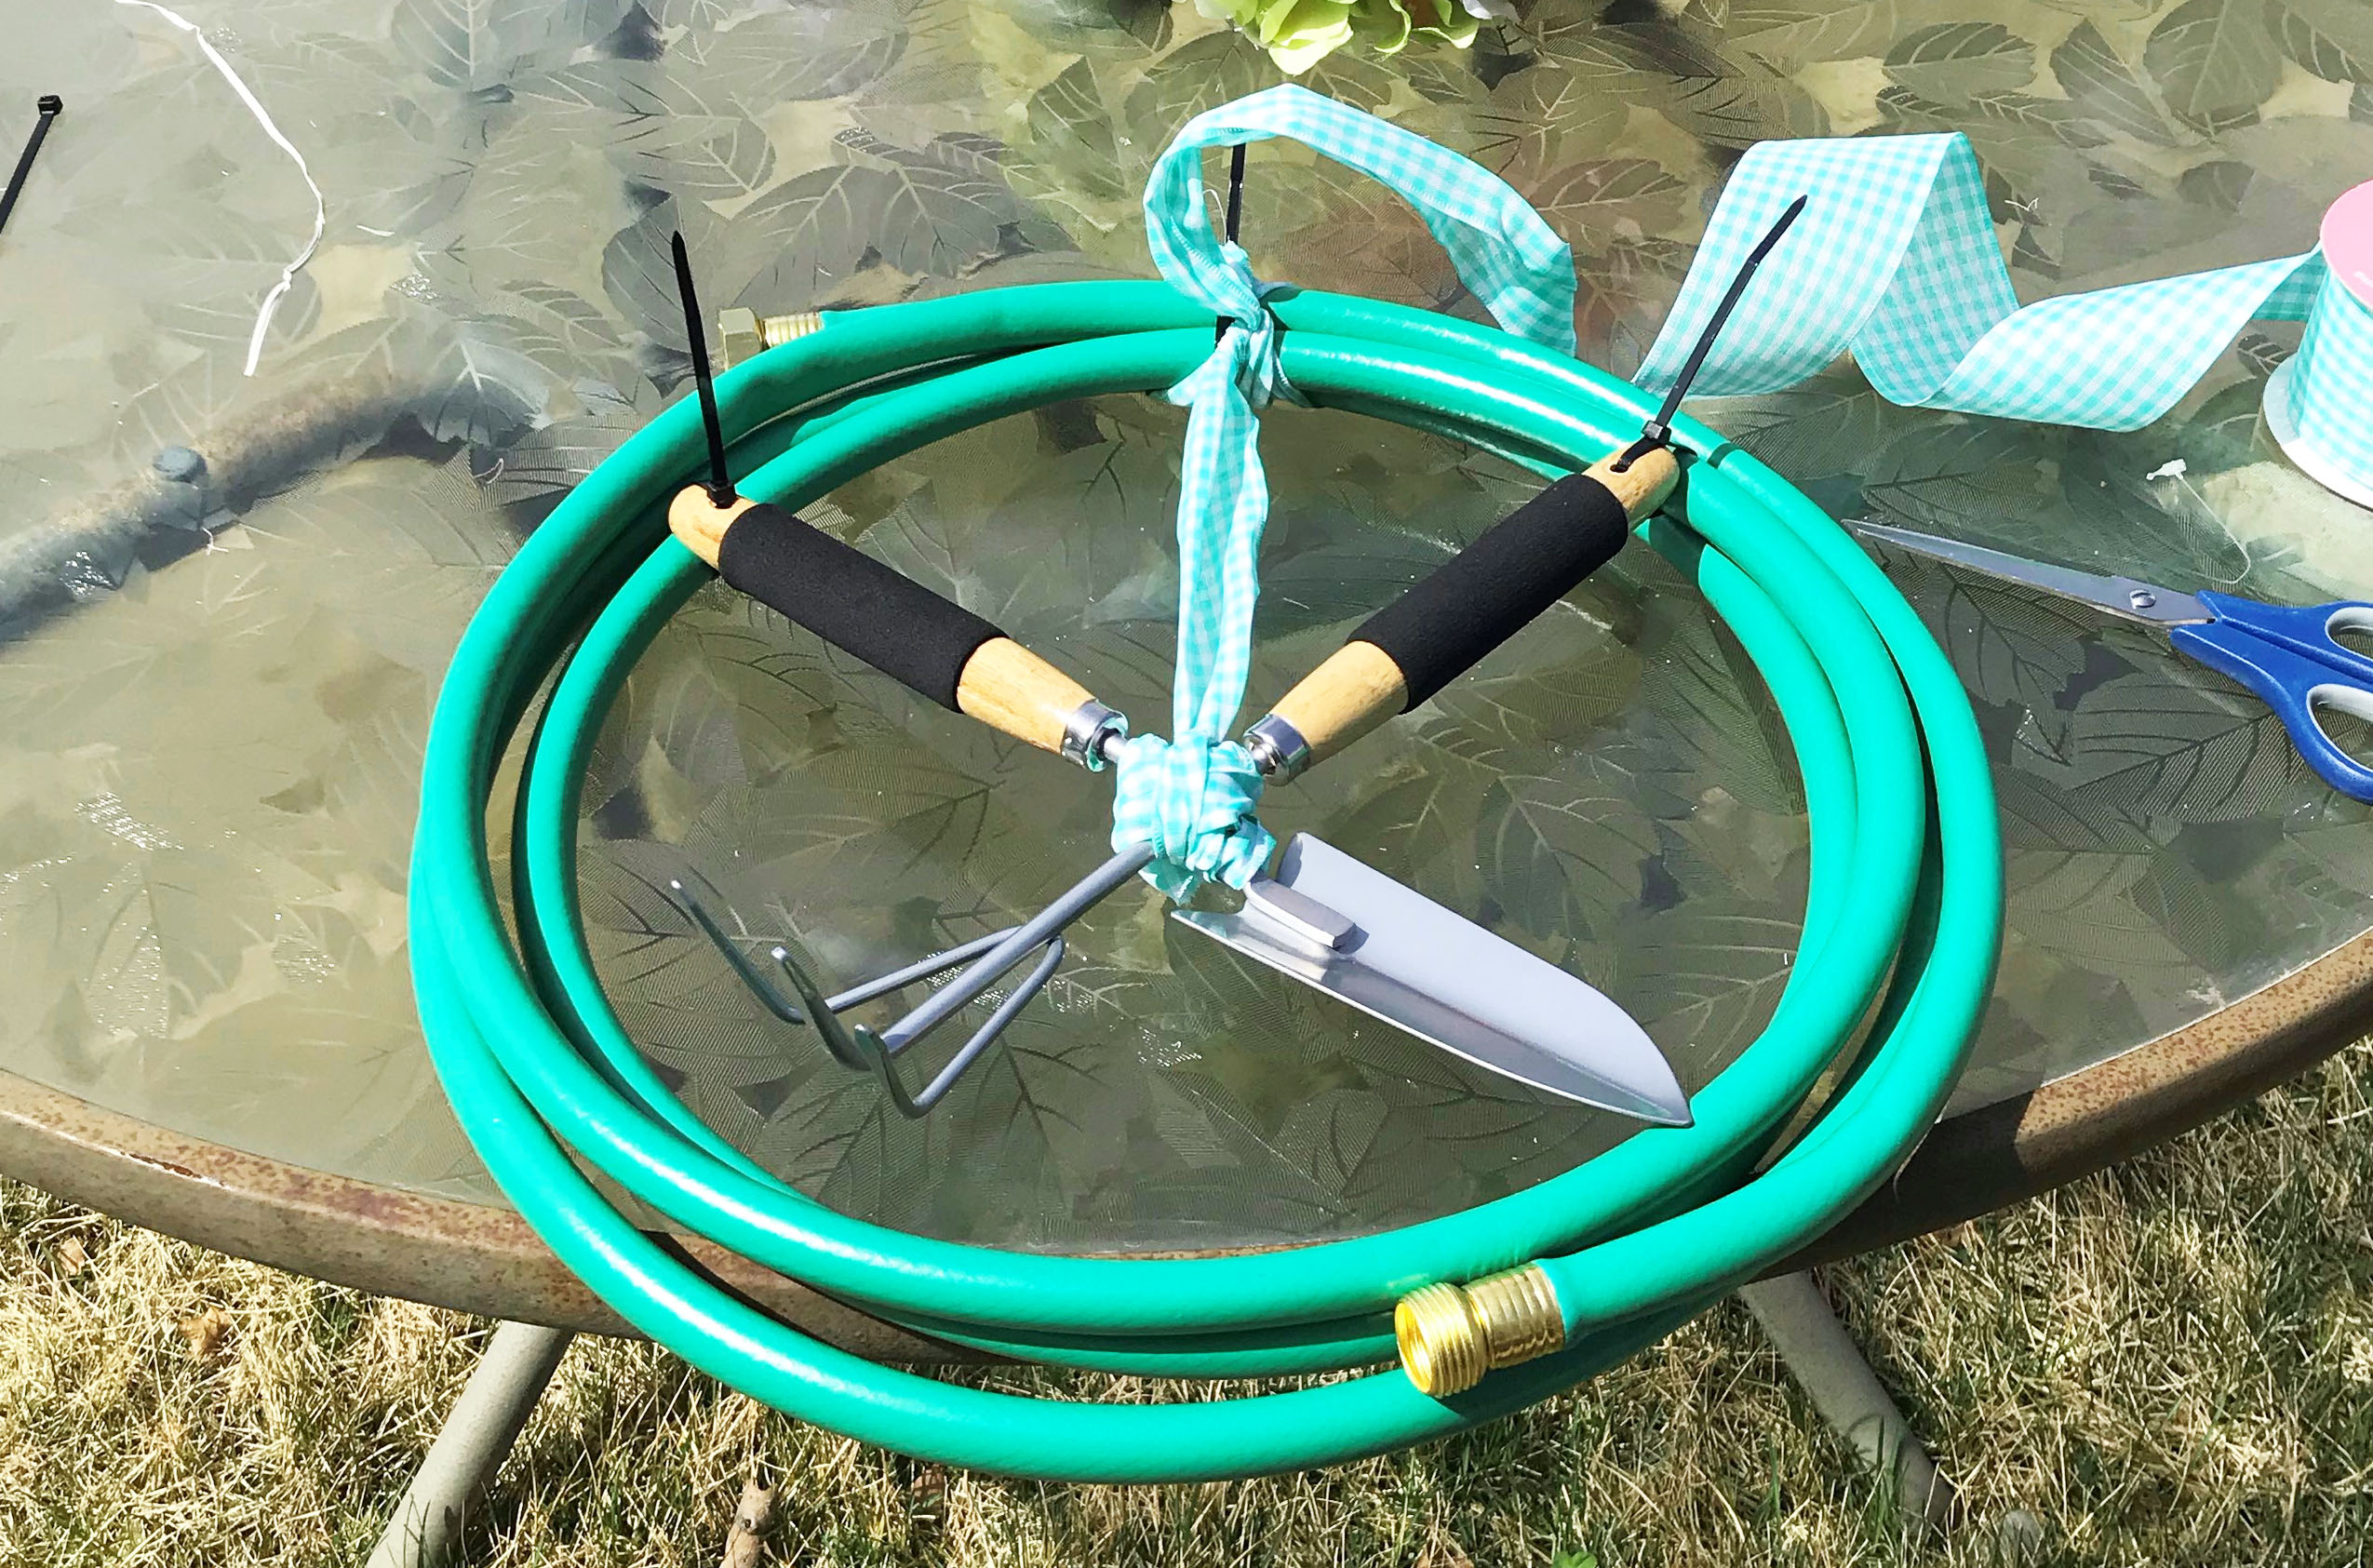
First, I coiled the garden hose so that it was about the circumference of a normal wreath. Then, I took one zip tie and fastened it around the hose in one place. I only used one zip tie for this, because I wanted it to look like the hose was coiled that way naturally. Don’t try to make it look too perfect – that’s not the point.
I made an X with the garden tools and joined them together with a twist tie before tying part of my ribbon around them. I tied the other end of the ribbon around the zip tie at the top of the wreath, so that the gardening tools would hang in the middle. So far it looked good, but the tools were flopping around a little too much, so I zip tied them to the hose to give them some stability.
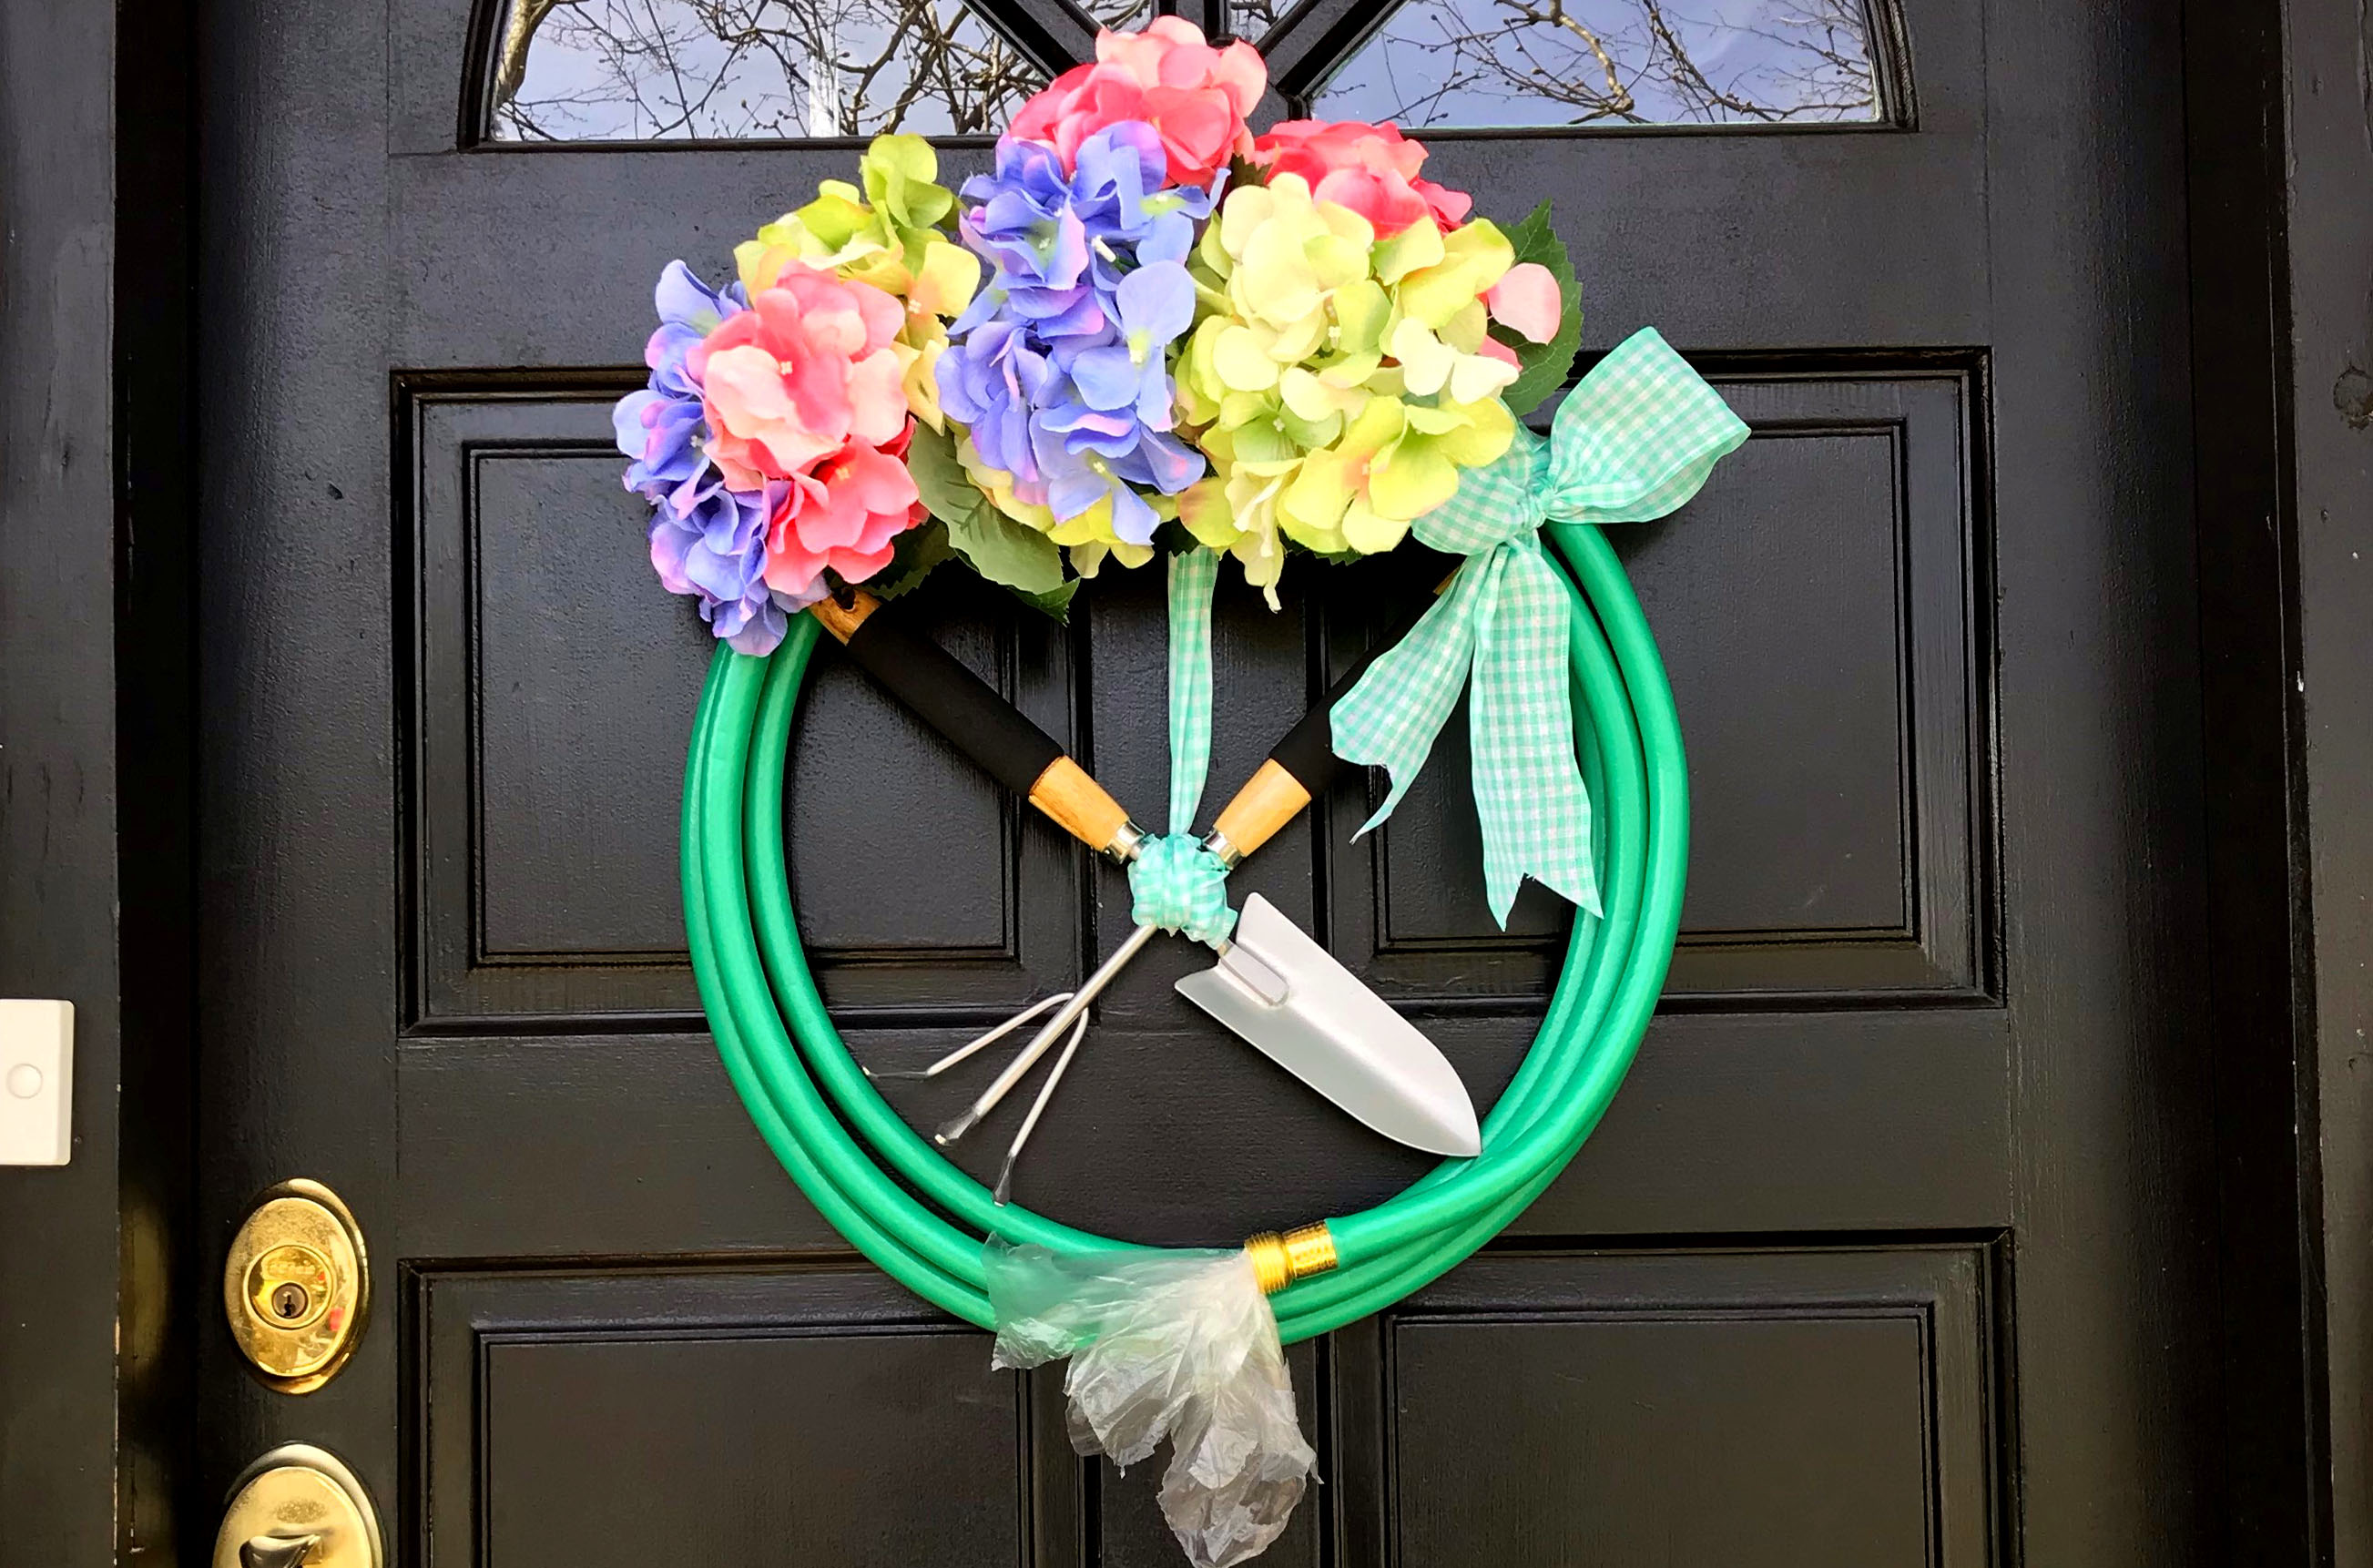
I selected the flowers that I wanted and grouped them together in little bouquets, before attaching them to the top of the wreath with twist ties. They looked a little naked, so I added a bow with the gingham ribbon at the end.
The wreath looked great, but something was missing. The hose was dry! I grabbed a plastic bag and inserted it into the end of the hose so that it would look like water was spraying out of it. Then, I added one more zip tie to the top of the wreath and hung it on my front door.
Colander Planter
After the wreath, I was ready to move on to my next craft – the colander planter. This craft is actually pretty easy – it’s mostly repotting a plant from one container to another.

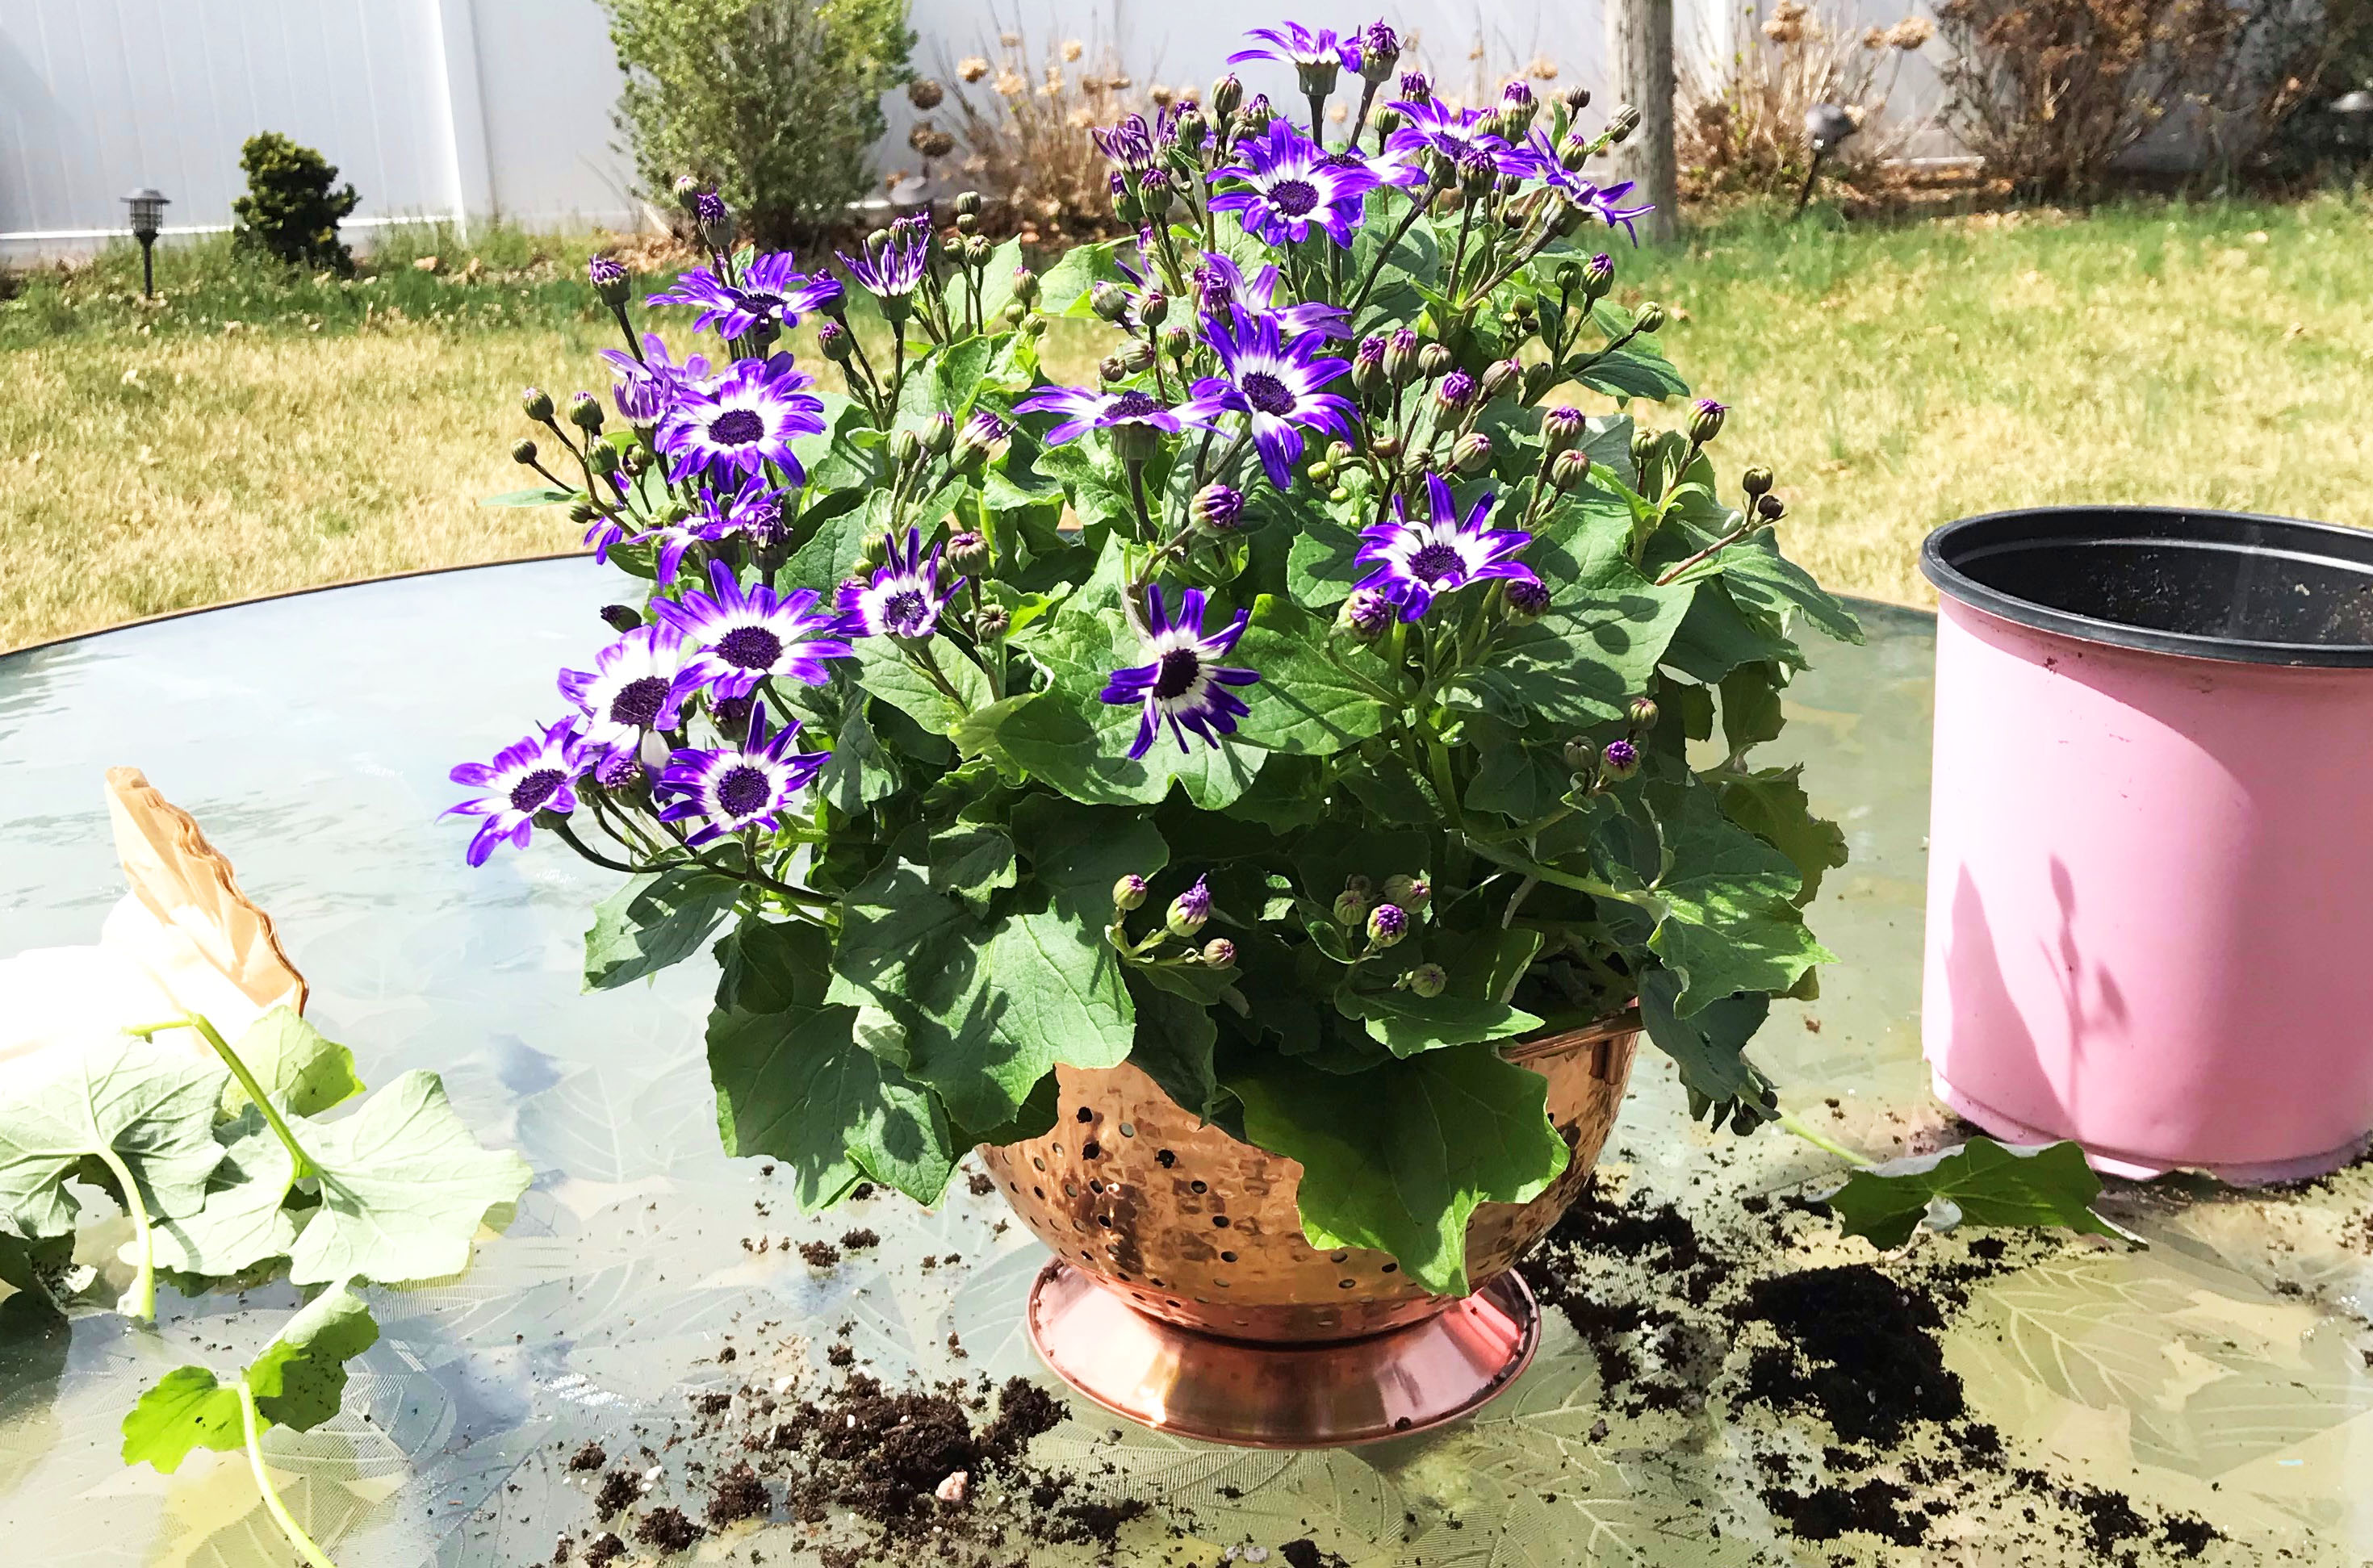
Here were the materials I used: some coffee filters, a colander and a new pot of African daisies. Some people like to spray paint their colander with some fun spring colors, but I think it’s more whimsical when it looks like something you just grabbed out of your kitchen.
First, I lined the colander with my coffee filters so that the dirt wouldn’t slough out when the flowers were watered. You can also use landscaping cloth if you have it, but I didn’t want to buy a big bolt of it when I would only be using a little bit for this craft.
This is when I realized that I should have done this craft before I did the wreath, because I could have used that spade.
I put some fresh potting soil in the colander (with my bare hands like an animal), then transferred the flowers from their nursery pot. I smoothed some more potting soil on top, then voila! Even though I made a mess, my quirky colander planter was complete!
Some people turn these into hanging planters by attaching string to the colander’s handles, but I like my colander just the way it is.
Rock Markers
This has got to be one of the simplest crafts out there. Many people use markers in their gardens to identify the types of plants that are growing there. But a cheap and easy way to add your own markers is to paint rocks! Hey, it’s free real estate.
I collected some of the larger rocks from around my yard, then took them to the sink to rinse off the dirt.
This is when I realized that I should have done this craft before I did the planter, because I could have used that colander.
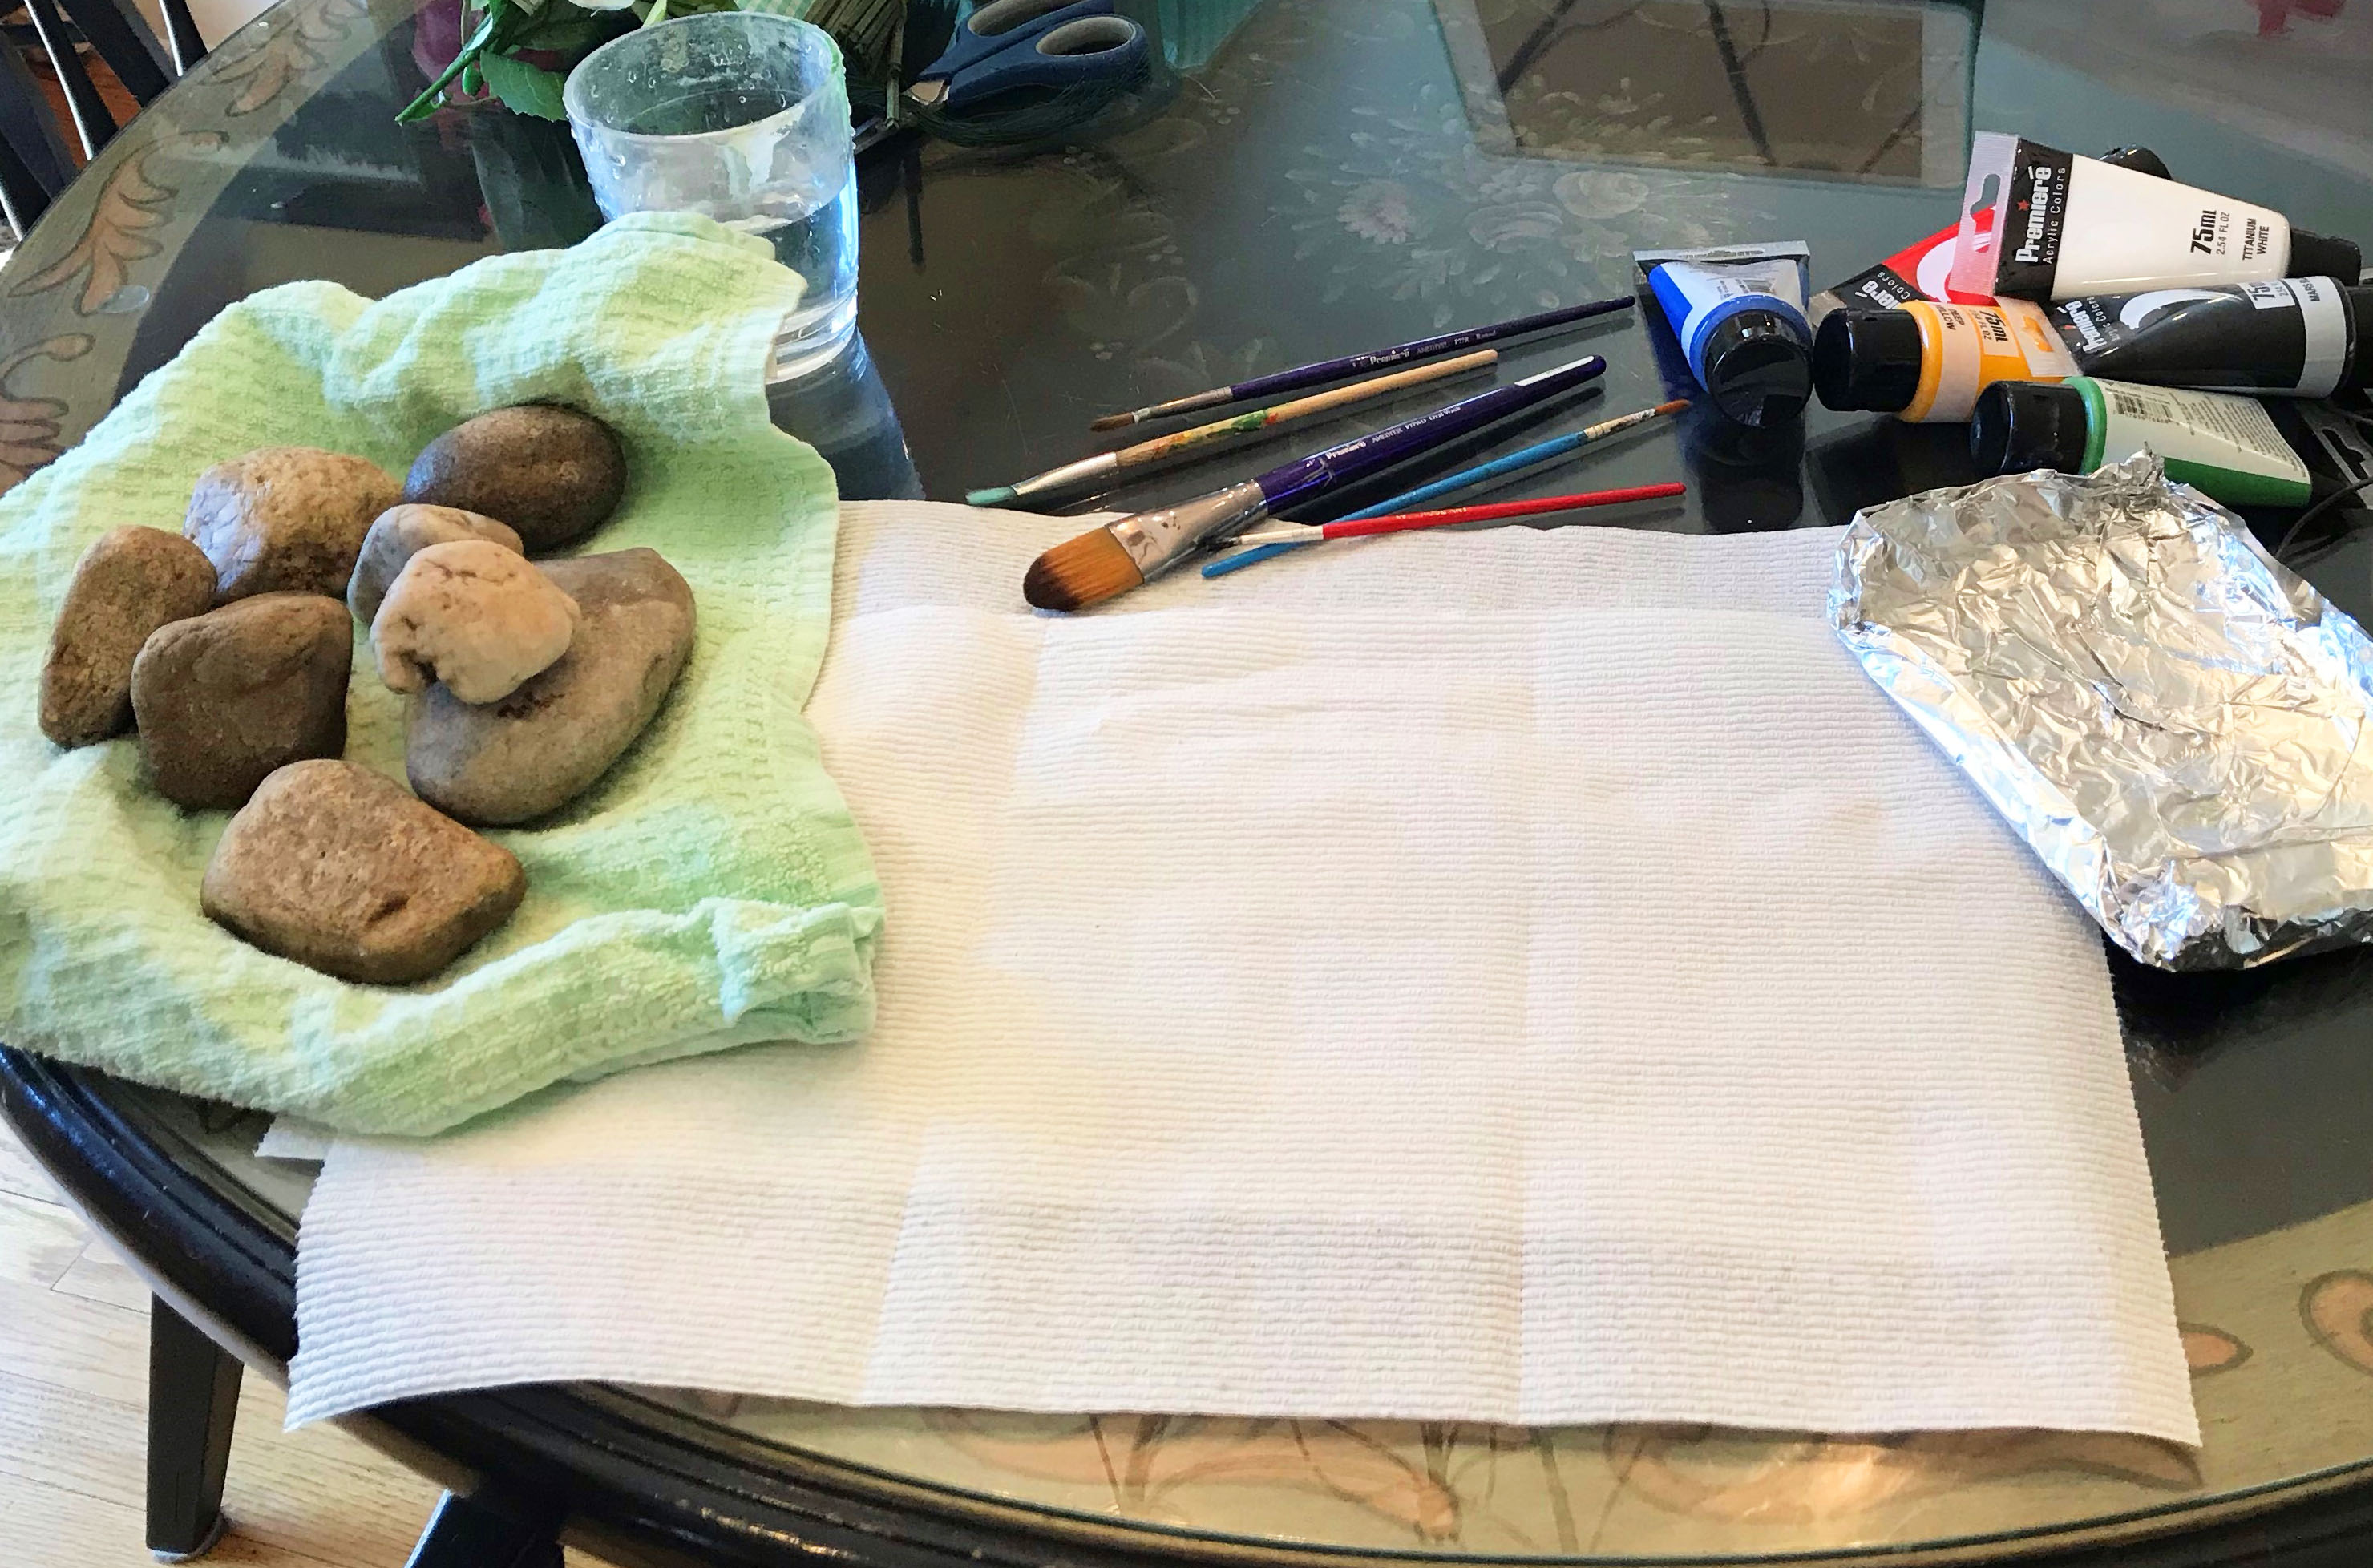
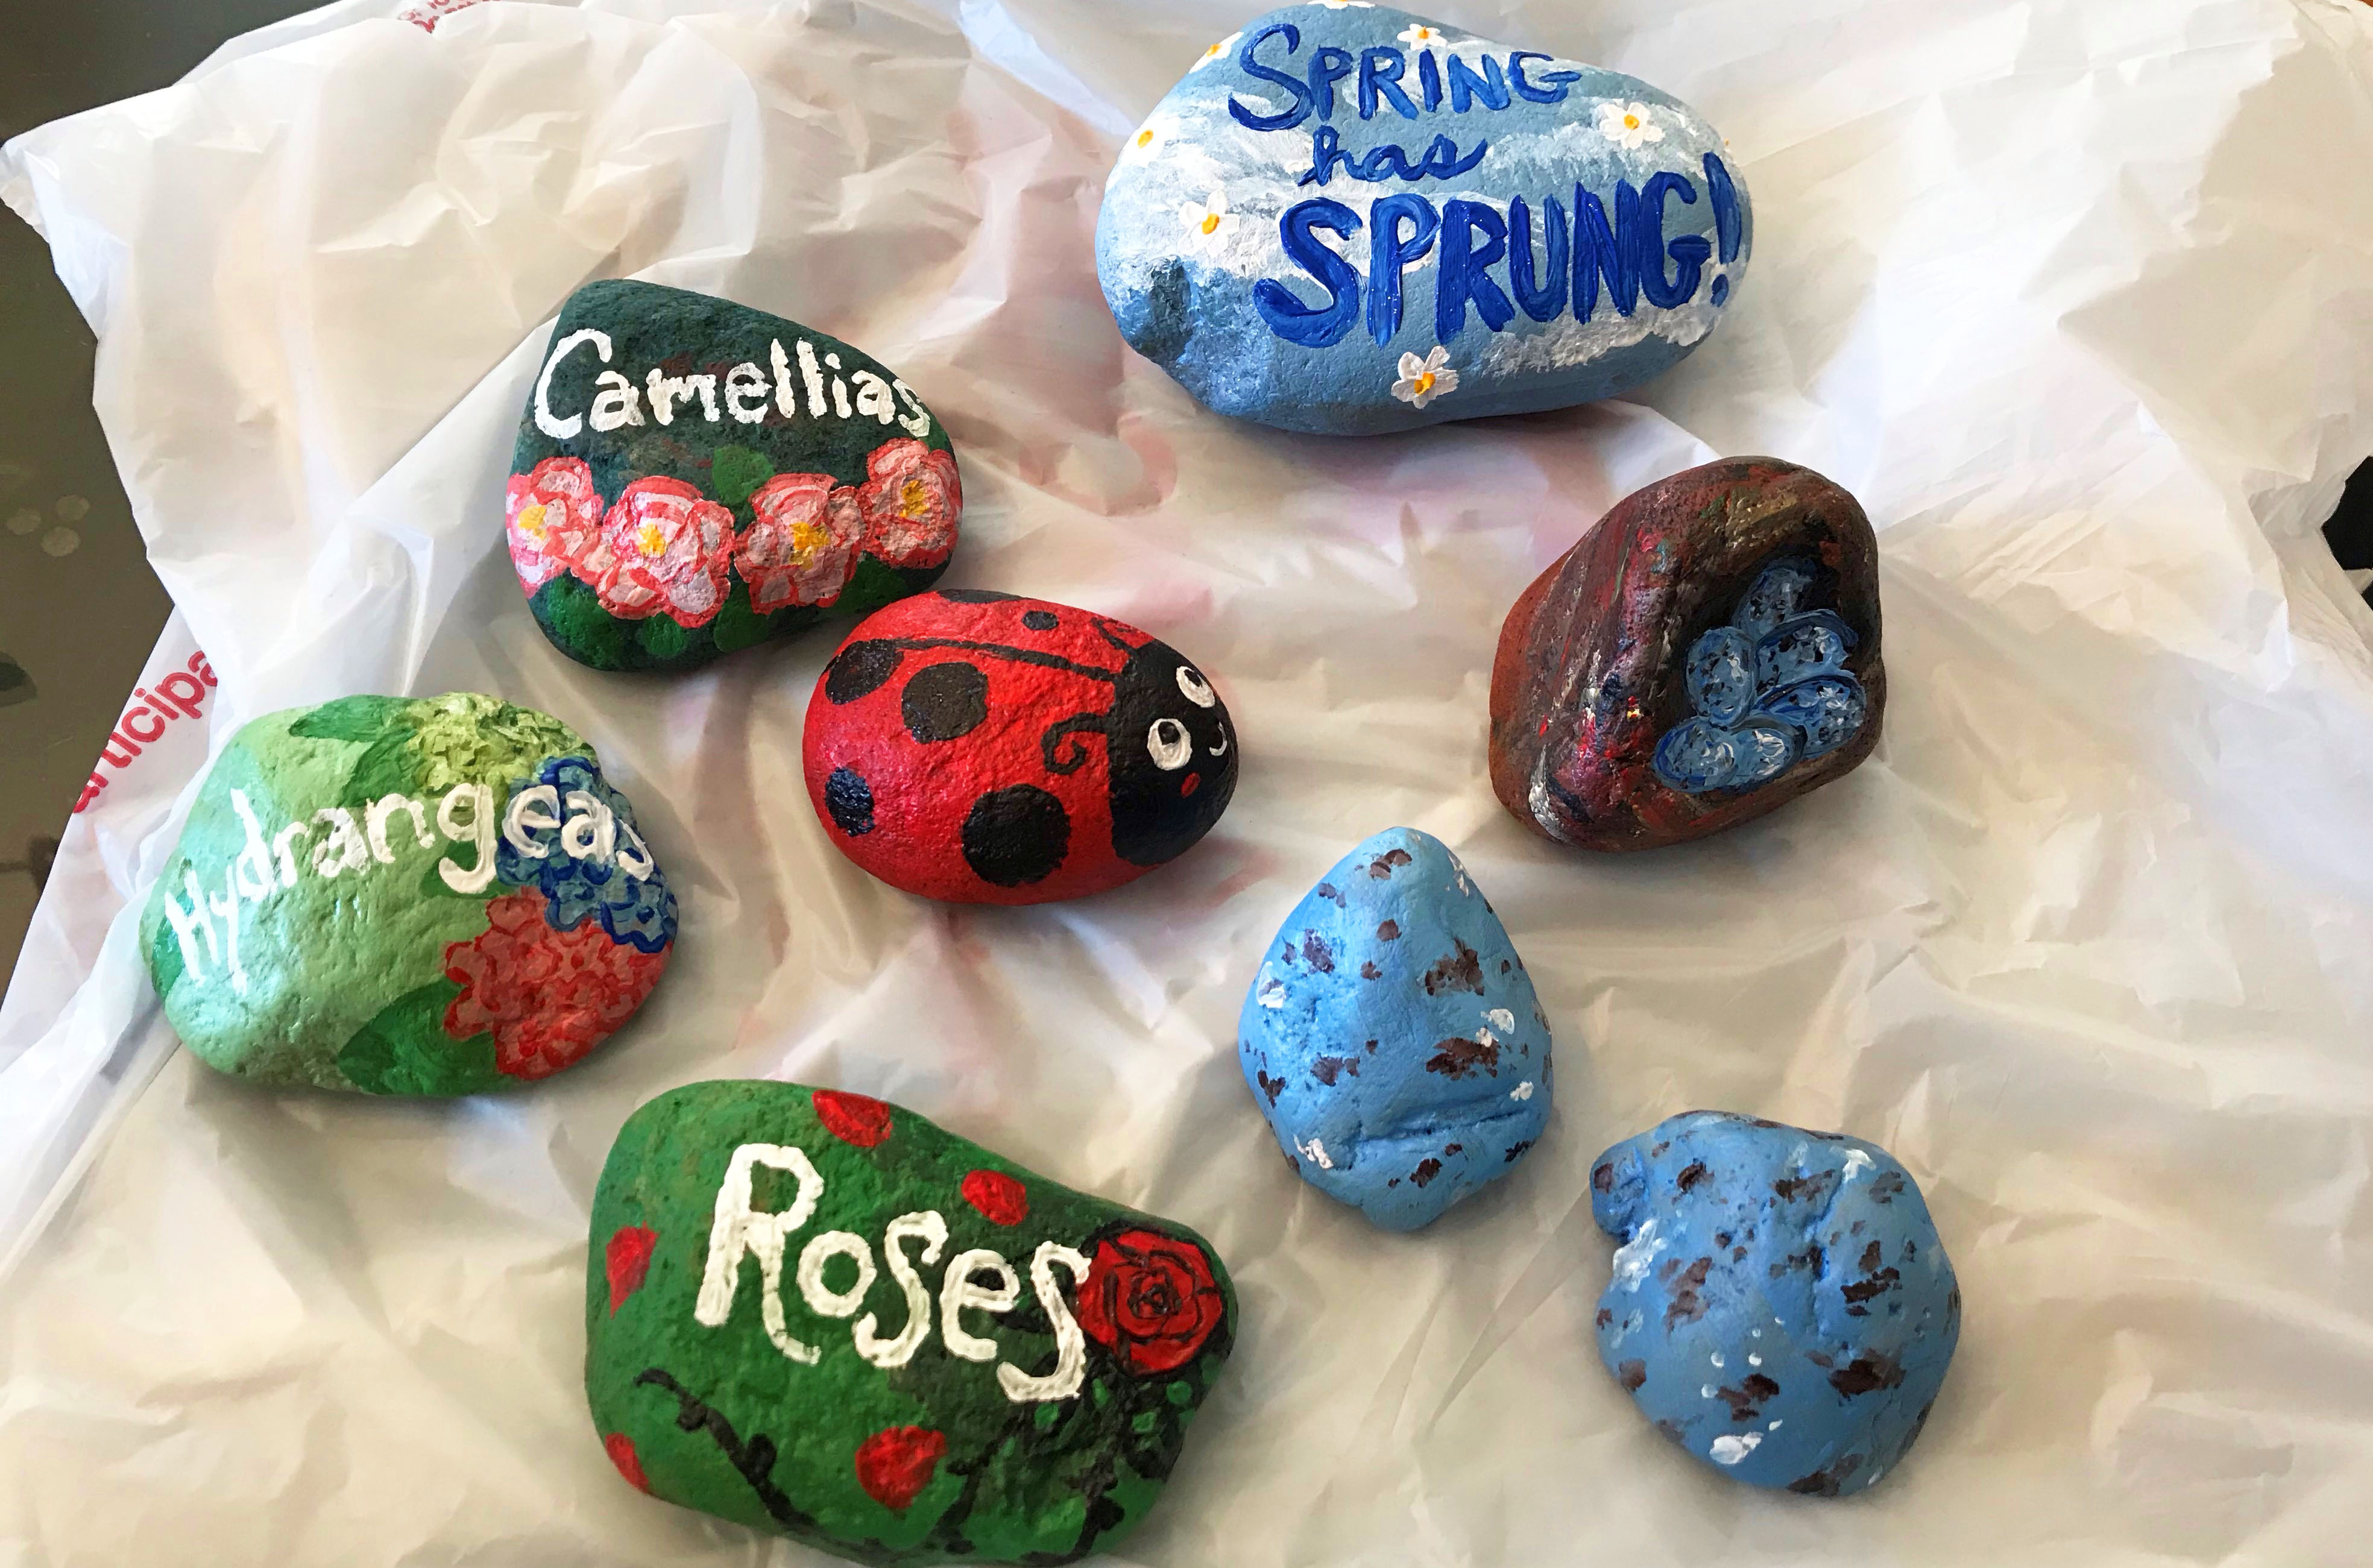
For my rocks, I used a thin coat of acrylic paint – if the coat is too heavy, it will never dry. Garden markers are usually used for fruits and vegetables, but I don’t have any of those, so I made some for my flowers. I also made a ladybug, some robins eggs and a big rock proclaiming the return of spring.
If you don’t feel comfortable trying to paint your plants on the rocks, print out an old scientific illustration of your plant, cut it out and use decoupage gloss to apply it to the rock.
After I was finished painting and the rocks dried, I sprayed them with some sealing spray, since acrylic paints tend to fade outdoors.
Beware, you will get messy! There’s no good way to paint rocks without getting a lot of paint on your fingertips, but that’s half the fun.
Add extra color to your home this spring with flowers from 1-800-Flowers.com. AAA members save 25% on arrangement, gifts and more.
What are your favorite spring crafts? Let us know in the comments below!
Last updated on June 29, 2022 by AAA Staff
Sarah is a content producer for AAA Northeast and she loves finding cool new places to visit in the region. Here, you can find her writing about AAA discounts, local attractions, Disney vacations and so much more.

Related Articles


Trending Articles


NEWEST ARTICLES