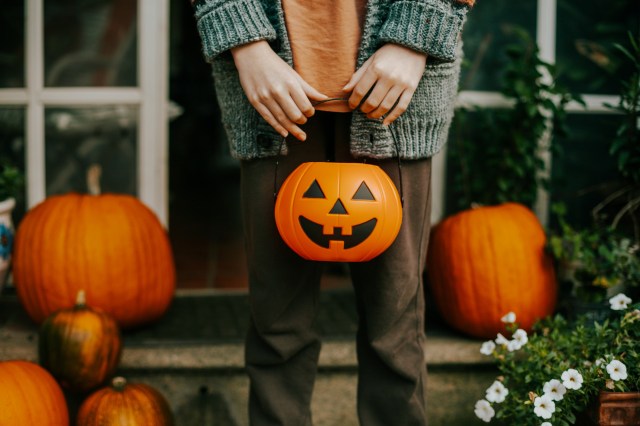
When you’re a kid, Halloween is all about the costume. As an adult, it’s all about the ambiance.
Creating – or should we say crafting – the perfect spooky vibe for your home is a great way to immerse yourself in the season, thoroughly enjoying all there is to offer this time of year. From reusing and recycling to tapping into your imagination, the perks of getting crafty with your Halloween decor are endless. To get the creative juices flowing, here are eight of our favorite Halloween crafts and spooky foods to try this fall.
Spooky Foods
Spooky Chocolate and Peanut Butter Sandwich Cookies
If you enjoy the classic peanut butter and chocolate combo, these skull-shaped cookies are scary good. Start by preparing chocolate shortbread dough. Divide the dough in half, wrap each portion and refrigerate for at least 30 minutes. In the meantime, whip up the peanut butter buttercream recipe below.
Once the dough is ready, roll out to about 1/4-inch thickness and use a 2- to 3-inch round cookie cutter to cut out circles for the faces. Pinch the sides of each circle with your thumb and index fingers to form a skull shape. For the eyes, use a tiny round cookie cutter or the small end of an extra-large piping tip, as shown in the video above. Cut out the nose and mouth with a knife. Each face will develop its own unique personality as it bakes!
Make half of the shortbread batch with faces and the other half plain, then sandwich them together with the buttercream after baking (350 degrees for approximately 10 minutes). Makes about two dozen cookies.
Peanut Butter Buttercream (makes about 1 cup)
- 2/3 cup creamy peanut butter
- 1 stick unsalted butter, softened
- 3/4 cup confectioners’ sugar
- Fine salt, to taste (optional)
Using an electric mixer on medium-high speed, blend together the peanut butter and butter. Slowly add the confectioners’ sugar until fully incorporated. Add salt to taste, if desired.
Boo! Brie Board
A cheese board is always a good idea, but it’s even better when it’s spooky. This creator starts by cutting a wheel of brie lengthwise and using a ghost-shaped cookie cutter to stamp out the shape on one side. On the other, jam is spread over the cheese to create a contrasting background before the ghost outline is placed on top. Next, they create a mummy out of soft cheese and strips of salami and tiny witches’ hats made from chocolate sandwich cookies and Hershey’s Kisses.
Ghoulish Strawberries
Who could pass up a chocolate-covered strawberry shaped like a ghost? These gems are easy to make and require only three ingredients: strawberries, white chocolate chips and black icing.
First, melt the white chocolate chips in a saucepan on low heat or in the microwave, stirring frequently. On a flat surface lined with parchment paper, create swoops of white chocolate that generally resemble an animated ghost’s “tail.” Repeat for however many strawberries you plan to dip. Next, dip each strawberry fully into the white chocolate and place on top of each swoop. Refrigerate until the chocolate has hardened (about 15-30 minutes) then use black icing to draw two eyes and a mouth.
Marshmallow Ghost Cups
Turn your favorite iced beverage into a Halloween treat in seconds with this adorable idea from creator debtrette. All you need is some marshmallow creme, a black marker and a clear disposable cup. Scoop a generous amount of marshmallow creme onto the back of a large spoon and place it on the inside of your cup, trying to create a ghost-like shape. Once you have as many marshmallow ghosts as you can fit, use a black marker to draw eyes and mouths on the outside of the cup. Then fill it up with your drink of choice (something pumpkin spiced, perhaps?) and you’re good to go.
Zombie Dirt Cups
An irresistible combination of pudding, whipped topping and chocolate sandwich cookies, these zombie dirt cups have it all – including worms. After layering these base ingredients until you’ve reached the top of the cup, adorn your chocolate “graveyard” with sugary zombie hands, headstones, bones, plastic spider rings and a shovel spoon to really drive the theme home.
Halloween Crafts
Air-Dried Clay Ghost Tealights
Once a staple of elementary school art projects, air-dried clay is making a comeback as one of the easiest ways to DIY all kinds of things like earrings, magnets and, in this case, sweet little ghosts.
Creator teawithteenie starts her process with a rolling pin, empty glass bottle, ping pong ball, some water, a sponge and a sculpting tool. After rolling out the clay, she cuts out a circle relative to the size of the ghost she wants to make, then uses the ping pong ball atop the empty glass bottle to create its shape. After making two holes for eyes, let the clay dry for 24 hours. Once fully dried, place atop a battery-powered tealight as a real flame is not recommended.
Papier-Mache Vintage-Style Jack-O’-Lanterns
If you want your Halloween decor to have a retro edge but can find only modern options, try this clever papier-mache hack to get the same look.
Using a store-bought plastic jack-o’-lantern, start by brushing Mod Podge over its outside surface and then cover with a layer of paper towels. Create any raised details during this step, like eyebrows or cheeks. Next, soak two to three cardboard egg cartons in water for three hours before blending them to create a pulp. Squeeze out any excess water and add half a bottle of white glue to create your papier-mache mixture and apply to the entire lantern. Let sit in the sun until dry (about two hours). Lastly, paint your vintage jack-o’-lantern however you see fit!
Tangerine Jack-O’-Lanterns
A perfect spooky craft to enjoy with kids, these tangerine jack-o’-lanterns make use of the fruit’s rind and can be hung as a garland or on their own to hold small handfuls of candy.
To make, slice off the top of the tangerine and carefully remove the fruit inside, keeping the rind intact. Stuff a paper towel inside the husk to give a backing and make it easier to cut the eye, nose and mouth holes with a razor or sharp knife (this part’s for adults only!). Make two additional holes on either side of the rind for the lantern handle. Replace the paper towel inside with aluminum foil and bake the lanterns at 200 degrees for two to three hours. Once thoroughly dry, use a small piece of twine to loop through the side holes creating the handle.
Which of these Halloween crafts are you going to try? Let us know in the comments!
5 Thoughts on “8 Halloween Crafts and Spooky Foods to Try”
Leave A Comment
Comments are subject to moderation and may or may not be published at the editor’s discretion. Only comments that are relevant to the article and add value to the Your AAA community will be considered. Comments may be edited for clarity and length.


I totally agree with Jocelyn Riley and Jean, , , WHERE are the pics of these creations?!?!
yes, pics would be very helpful.. tks!!
The idea of Halloween crafts and treats is enticing, but a photo of each would pull the reader in further to explore. As is, with mostly just a title,
why bother to look into it and possibly waste one’s time?
I agree with Joelyn!
I also agree!